Week 12: Moulding and Casting
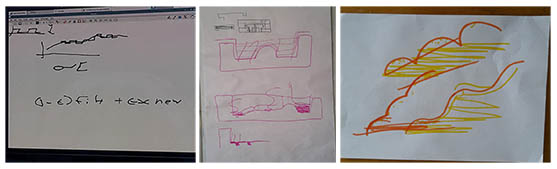
Wednesday 20/04/16. Moulding and casting was explained to us this week. Although the global and local lectures were clear, I must be honest and say that I would have found photos or video demonstrations more useful than the raw explanation of how machines operate to make a wax mould. Sketches were made, containers of solutions were shown but I expected real demonstrations of pouring the liquids and more vivid imagery. Nevertheless, I was quite exited about what was to follow and was at the same time aware of the tight time-frame to which we had to stick to in order to deliver everything that was asked of us.
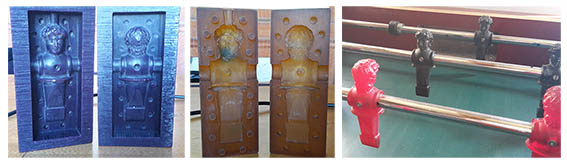
On Thursday 21/04/16 Mickael pointed out that we should be careful with what we mean when we say positive side and negative side, because the positive on the wax mould is the negative of the silicone mould, which is actually the positive cast! To work this out I spent a lot of time observing the footballers that Alex Schaub had made in previous years. Thankfully their wax moulds, silicone moulds and the actual figures are still around and I even took photos of them, so that I could look at them while designing at home! Mikael also gave us a lesson on how to 3-d mill on the ShopBot.
OnFriday 22/04/16 Emma demonstrated 3d milling on the Roland Modela and I had already decided that I wanted to use it for my mould. It seemed friendlier than the ShopBot and I really would like to get to know all possibilities of this machine.
Once the demonstration was done the aim was to draw something that afternoon and then be able to mill it on Saturday morning. It was time for decision making, but this decision was not an easy one to make. I definitely wanted to do a two part mould - preferably with two non-identical sides. I considered this to be more challenging for myself. I researched what students in other years did and in the end, I decided to make something simpler.
On Saturday 23/04/16 I realized that the challenge lied in being able to design what I wanted to do in Rhino relatively quickly! Since I did not want to cast a symmetrical item, but I wanted it to be somewhat representative of something, I soon realized that I needed to be a little more fluent in it than I actually am.
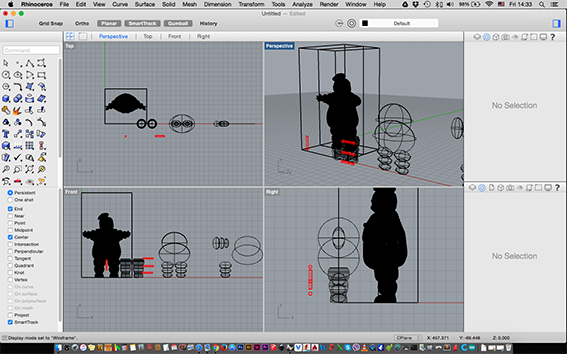
I downloaded a working file of the Ghostbuster's ‘Marshmallow Man‘ from Thingiverse and I started to reproduce it only to realise that my knowledge was somewhat restricted when it came to manipulating such shapes. I was advised to watch a YouTube Tutorial which demonstrated such procedures and in the end I decided to go for moulding a plain duck! Although this was a very useful tutorial, it made me realize how much time it would take me to design the figure and I wanted to have a simpler design. I still had to figure out the positive-negative-positive mould drawing equasion in my head, so I thought it was wiser to start with something simpler.
I spent Sunday 24/04/16 drawing, thinking and re-thinking of my mould. Although I consider myself a pretty good three-dimenshional thinker, I ended up designing two pouring holes and two air ducts at a position where the machine could not reach. On top of that the two moulds were eventually going to become one, so I really did not need four holes. I only needed four half holes in a better position… I had to take a break from designing, so I watched the following tutorials that Saverio Silli sent to us, which I found very helpful and informative.
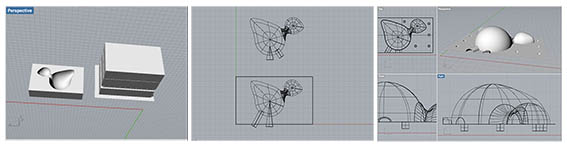
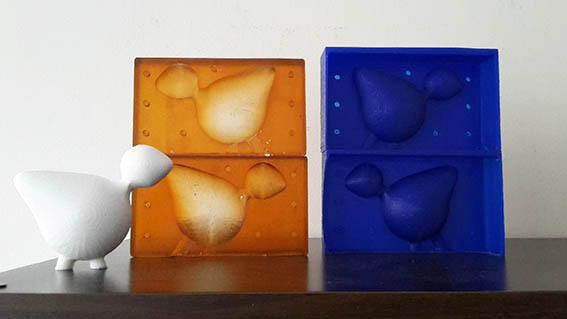
By taking it easy and comprehending as much as I could about the actual process of modelling and how the casts would take place, I managed to have the two sides of the duck that I wanted to make. I drew the duck as one, then added one pouring hole and one air duct. I then split it in the middle and built the sides of my moulds around them. I also added the pins which would hold the two-part silicone mould together.
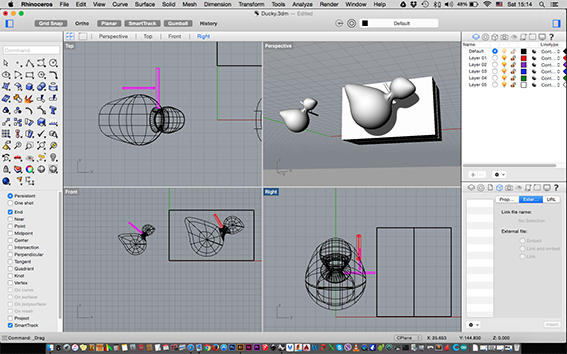
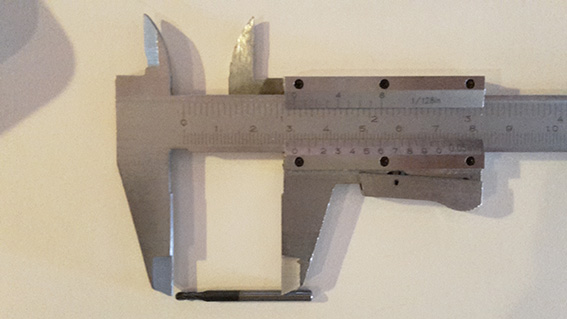
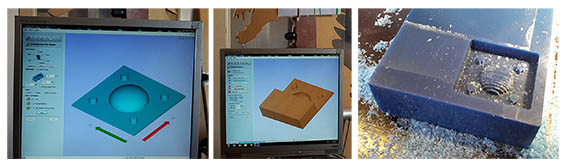
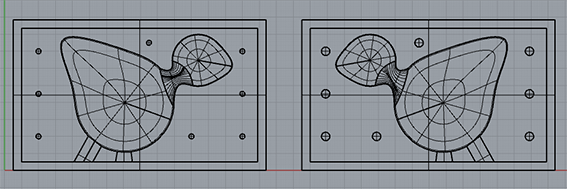
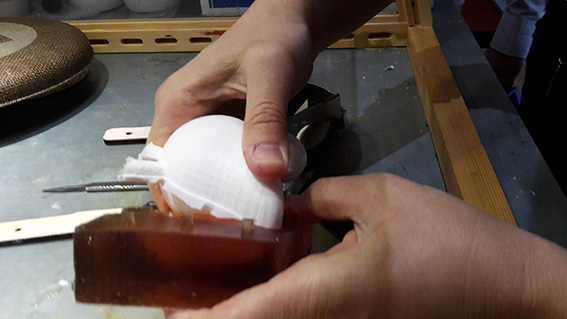
I was designing having in mind that I was going to use the Modela with the 2.38mm (3/32inch) endmill. I even wanted to use the ball point one because I had never seen one in use before. In the images above you can see an imitation of the endmill in pink colour used to test that it could pass through the shapes that I was designing. I had already measured the endmill and I knew that if it was held in the collet by 1cm I would be safe with milling my walls and the sides of my little duck. I thought that I would not need to make slants to allow for the collet to not hit the sides of the mould.
On Monday 25/04/16 at the FabLab I was ready to mill on the Modela. I fixed the endmill, I stuck my readymade wax block on the plate with double sided tape and I loaded my design.
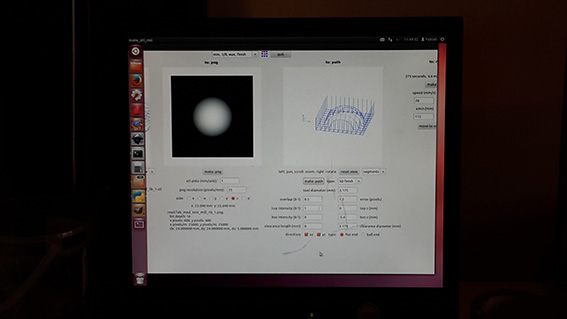
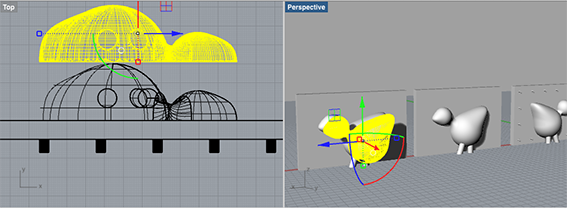
The first problem I had was that my file was not loading correctly. I was clicking ‘make .png’ and followed all other fab modules procedures, but the image refused to appear on the screen correctly. As I know by now, if a computer is refusing to do something, it is because I am not telling it to! Emma figured out the solution, however. I had been drawing in front view rather than top view, so when I exported my design, the machine could simply not see it from the correct angle! I proceeded to rotate my drawing until Emma realized that the endmill was sticking out way too much and this would stress the machine! She prefered that I would not proceed like that. I had to change my drawing.
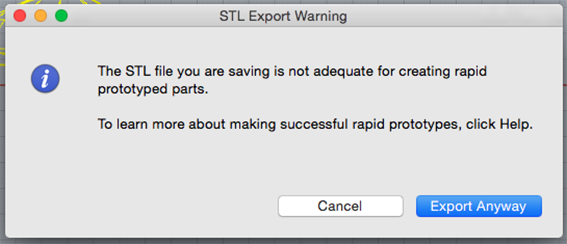
I weighed my options. I did not want to scale the drawing because it would mean that it would make the duck's neck much weaker. By inserting the endmill even deeper it would mean that I would probably need to design the slant edges inside my mould - hence a much smaller duck. I decided that the quickest changes to the design would be to simply delete the walls of the mould and cut on the ShopBot since it only needs to only know a surface along which to move. This surface does not even need to have a thickness. After a successful quick test on Rhino for a 5mm endmill, I opted for the shopbot mostly for time management reasons… While I was exporting I got a warning from Rhino that my drawing was not suitable for Rapid Prototyping - 3d Printing. This was because it was not a printable solid, but this did not matter in the case of 3d milling.
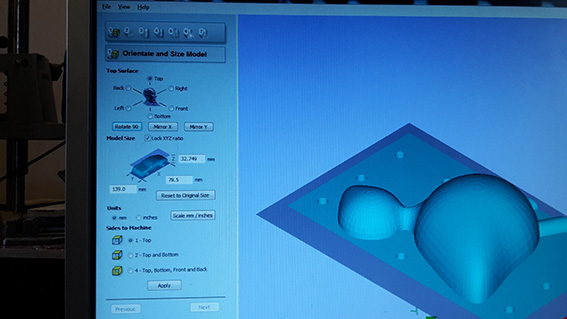
At the shopbot, I stuck my machinable wax with double-sided tape and I screwed four pieces of wood around it as an extra pre-caution of holding it in place. Mickael was being his usual helpful self, going through all stages with me very patiently. Although I was a little bit intimidated by the machine, I realized that my knowledge of it was still there and that it was simply a matter of building on it! I opened Shpobot3, which is the application for 3d milling and carefully set up the orientation of my model to ‘top’. I added the size of the model that I had drawn.
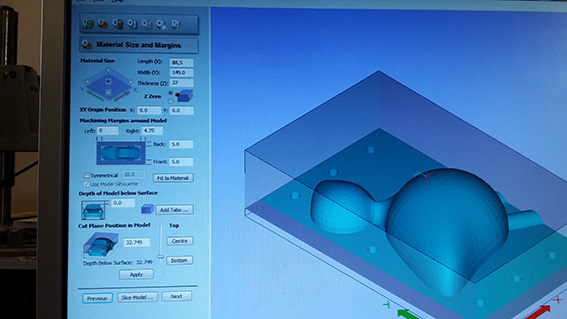
I then set the size of the actual wax block that I had and I set all margins of the job to 0. I set the X,Y,Z coordinates for the machine and for the specific job. More on this can be found on my website entry on Week 7.
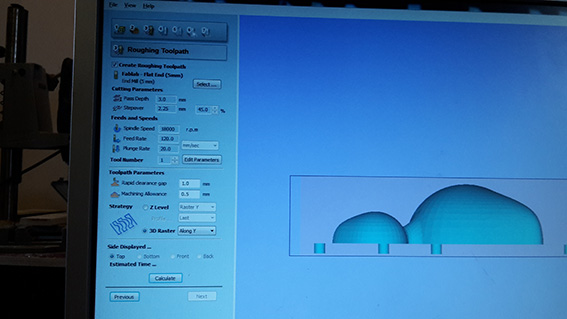
For the roughing toolpath, I set the pass depth to 3,5mm because wax is very soft and the stepover to 45%. The spindle speed was at 18000 which is the maximum. The feed rate was set to 120 and plunge rate to 20 according to the tests we had done on Thursday and according to Mickael's experience!
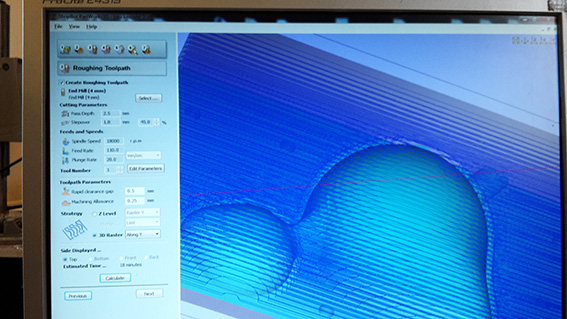

The only problem I had was that the milling bit that I was using was a 5mm flat-end which did not recognize my 5mm designed holes! This meant that I had to change to a 4mm endmill (only for my second mould) and that the rapid clearance gap had to be set to 1mm. The machining allowance needed to be reduced to 0,5. That was the only way the machine got to realize that it had to drill a hole!!
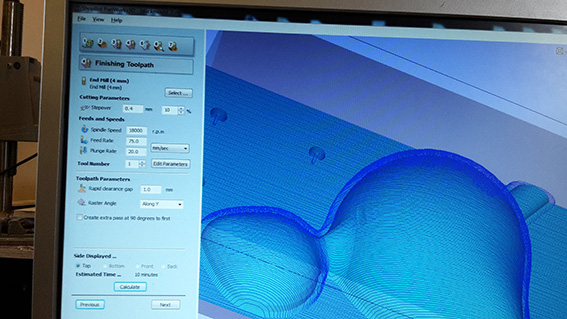
For the finishing toolpath I set the feed rate to 75 and the plunge rate to 20. The rapid clearance gap was set to 1mm, but next time I would go lower because the milling marks are more visible than I would like them to. Unfortunately I did not have time to run the job from a 90 degree angle which could possibly give a smoother finish.
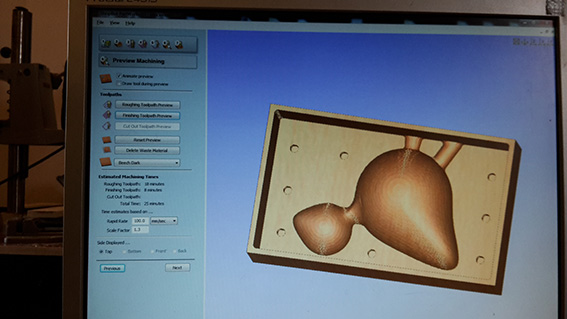
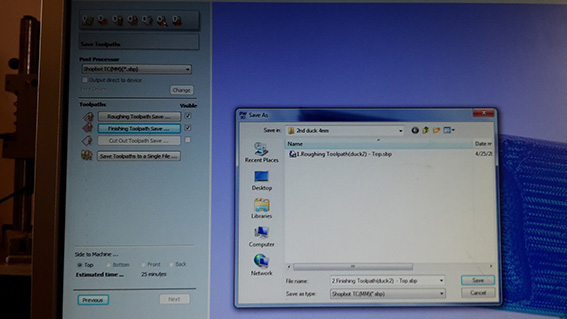
We ran an on-screen demo of the jobs and saved them on the computer. Then the milling begun, which went quite smoothly except when it broke the sides of my second mould. For some reason whenever it was returning to the beginning of the path, it was hitting the walls of the wax block very hard which made it break. I really did not understand why it was so crude during some movements.
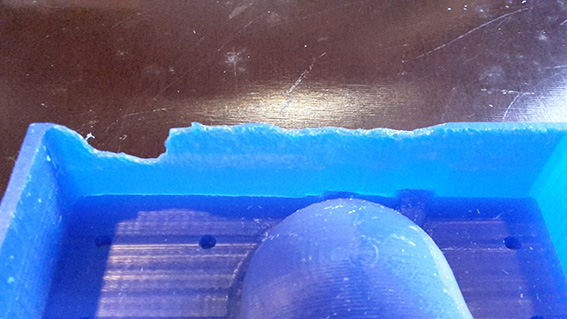
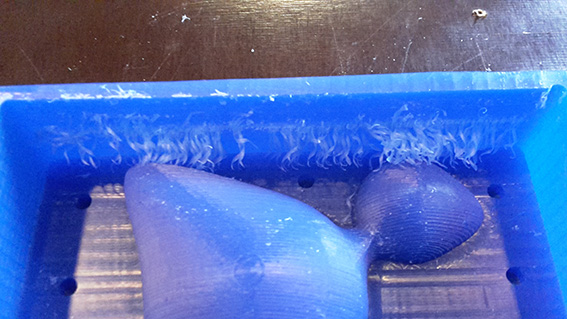
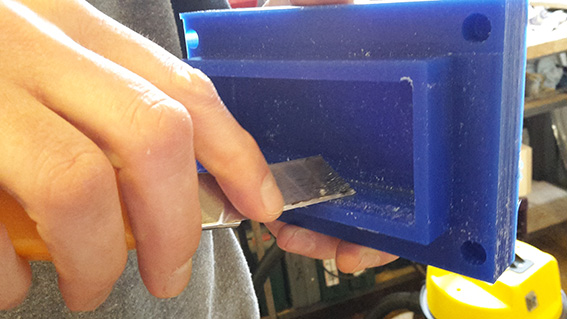
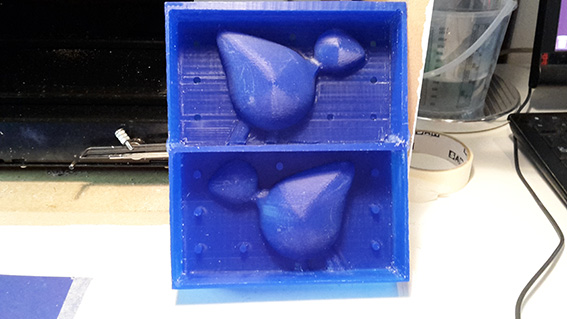
I carefully cut off the broken side and I cleaned the inside of the moulds mostly with a stanley knife and chisel. I found them more useful than the file or sandpaper. Following the advice of Mickael I stuck the two moulds together with a hot glue gun. That way I was creating another side to it. This trick worked pretty well and the seams sealed off completely.
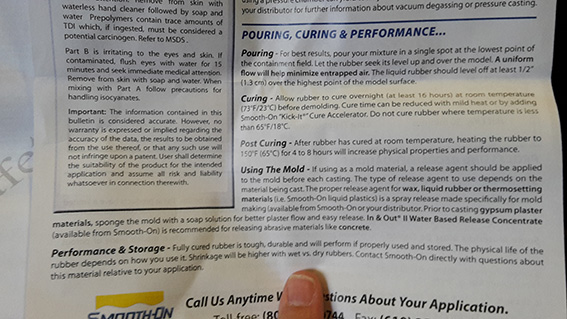
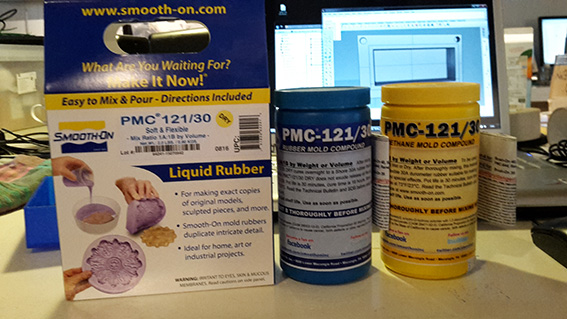
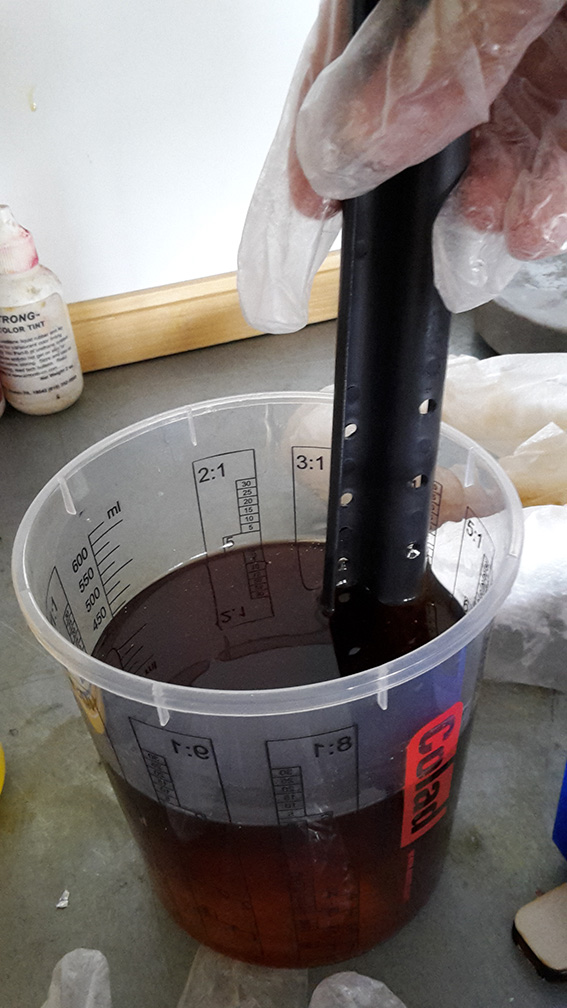

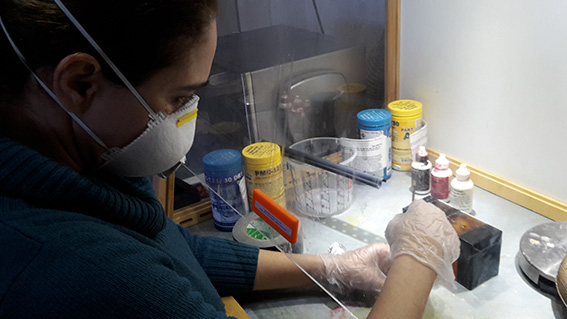
I then read the instructions of the PMC rubber and calculated how much of it I needed. I measured the sides of my mould which were 14,5cm x 8,2cm x 3,5cm which gave me 416.15. From that I figured that I needed about 400 ml. I poured equal amounts of the two solutions as stated in the instructions and I stirred with the plastic stick provided. That seemed to me that it was mostly creating air-bubbles rather than eliminating them but I proceeded to pour the first mould. I had 100ml of solution left so I decided I should just add 150ml of each of the two parts over it. As I started pouring I got confused about how much I had calculated and ended up wasting quite a bit of material… I started again and managed to pour the second one successfully!
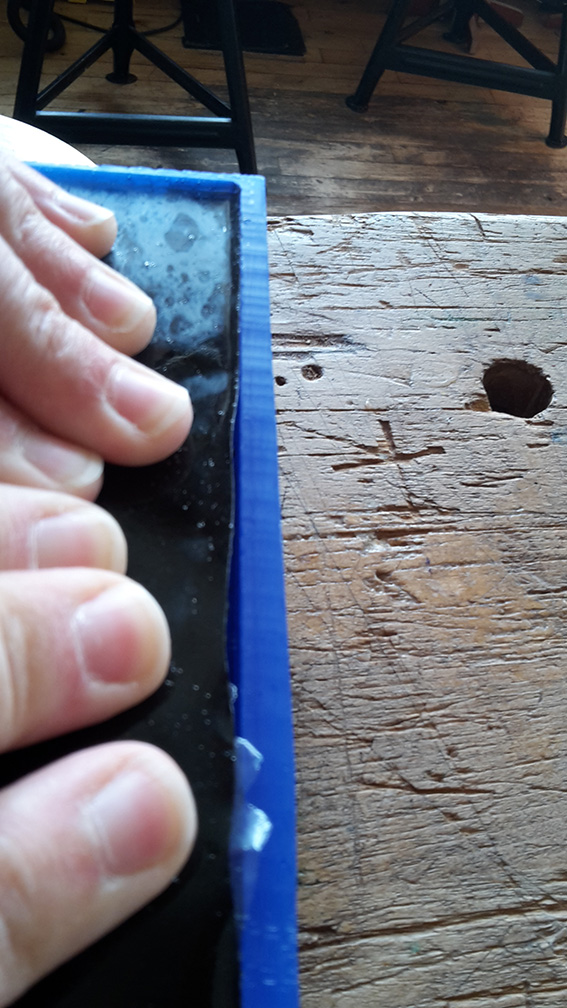
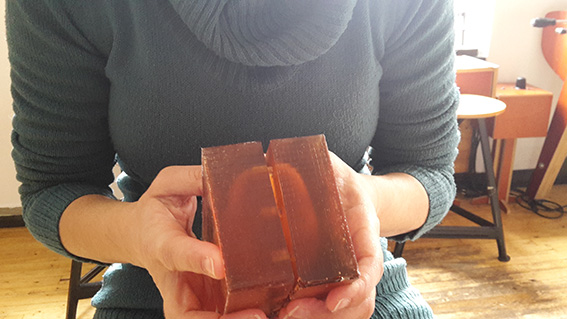
On Tuesday 26/04/16 I easily took out the rubber from the wax block, unfortunately not without any breackages, but next time I will take into account a little more allowance in order to have stronger edges. In any case what is needed is not the machinable wax but the silicone mould and that seemed to work just fine! The wax can be melted and re-used over and over again.
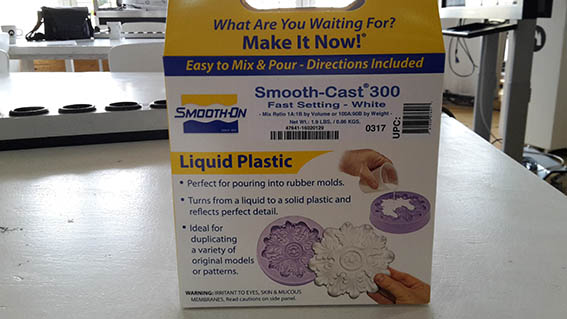

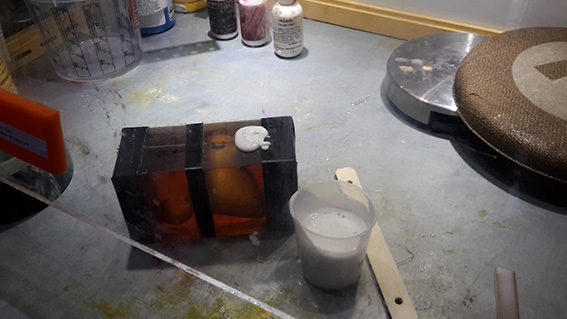
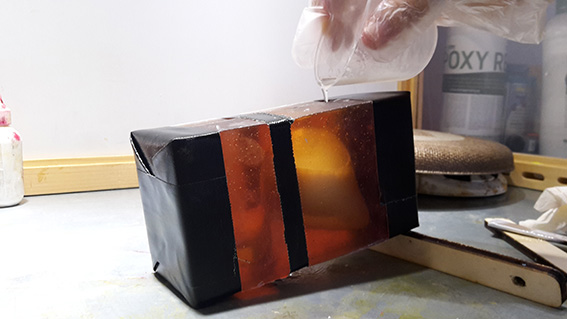
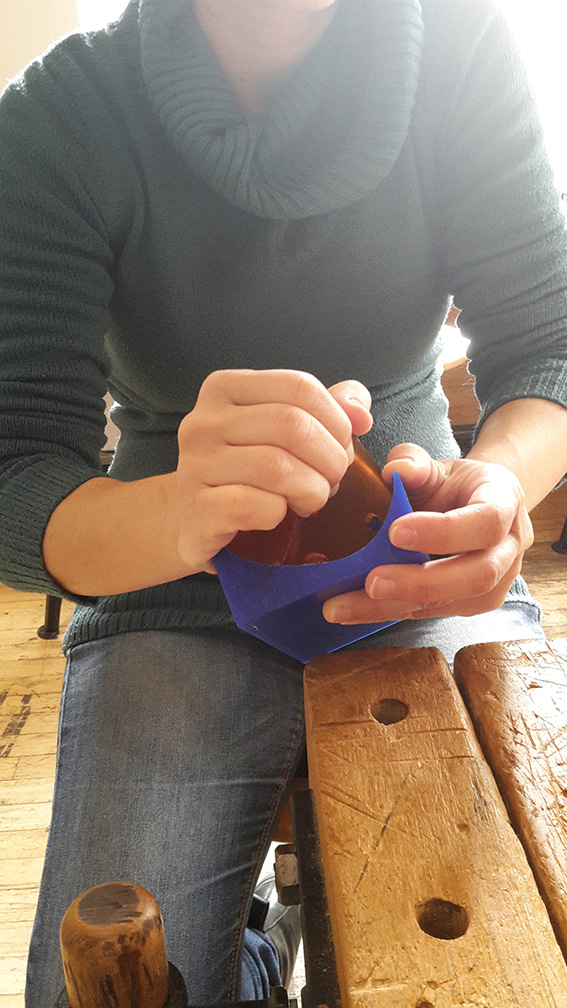
It was the exciting time of pouring the plastic! This time I filled both sides of the mould with water and figured that I had to make 100ml of the solution. I held the two parts of the mold together with gaffer tape in a way that would allow me to see what was happening inside while pouring. I also set the mould at an angle which I believed would eliminate the possibilities of creating air bubbles. I then read the new instructions, added the correct ratio in the cup and started to stir. It really amazed me how the liquid became so hot! Just as I started to pour I realized that I had stirred for too long and that the liquid was already becoming plastic. There was no way I was going to be able to pour it in the mould. I had to start again.
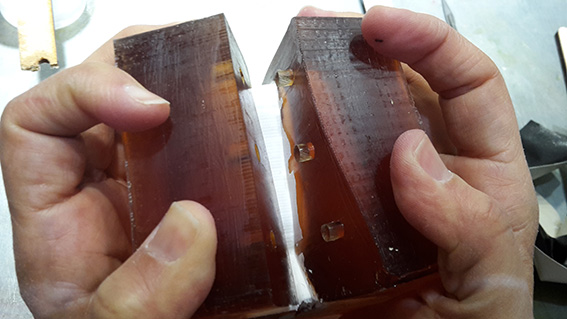
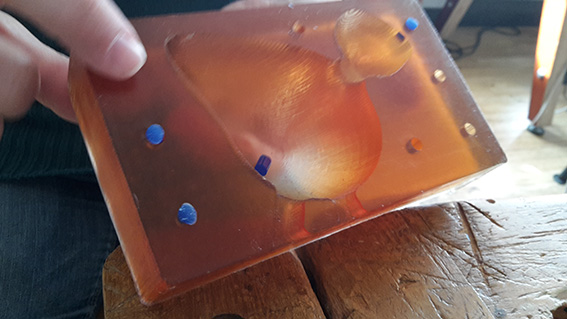
This time I was quicker and I poured the liquid at the same time - only to realize that I had again calculated less material! I quickly mixed up some more and successfully filled the mould to produce a very good cast. Thankfully there is no visible seam for this.
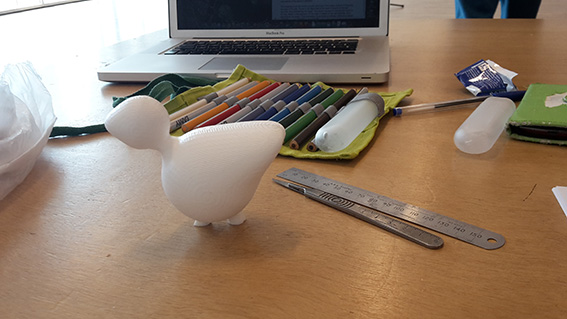
Although I thought I would want to manunally work on the final cast to make it smoother and eliminate imperfections, I seem to quite like it the way it is. I quite love the machine traces so the only thing I did was to peel off the material that had leaked from the edges. I also sanded the airduct and fill hole in a way that allowes for the duck to stand - a little unnaturally maybe but it is still standing!
The most important thing about this assignment was indeed time management and making smart decisions in order to finish on time. I am happy that I succeeded that. I am however extremely disappointed at myself about all the miscalculations and the material I wasted. I need to be more careful next time.
(Well, actually, next time I will not have a choice, because in Output Devices when the 'calculations' are wrong, nothing works right!)
Rhino Mould: 1 - File Rhino Mould: 2 - File Moulding and Casting Lecture Back to Weekly Assignments Home